Drinking water in a hostel is safe when it comes from a properly serviced purifier, a clean storage tank and clean taps or coolers. If you can't confirm those three things, use sealed bottles, boiled water or a personal filter until you can. This guide walks you through what to check in your first week, which backup suits your room, and how to raise a complaint that actually gets acted on. If you're just starting out, our guide to hostel life in India covers the rest of your move-in checklist.
Every hostel handles water differently. Some run central RO plants, some rely on corridor coolers, and some PGs leave it to residents. Treat the steps below as general guidance and check your own hostel's arrangements.
Key Takeaways
- An RO unit is only as safe as its servicing, the tank feeding it and the tap you drink from.
- Ask the warden where the water comes from, when filters were last changed and when tanks were last cleaned.
- Sealed bottles and boiled water are dependable short-term backups while you check the supply.
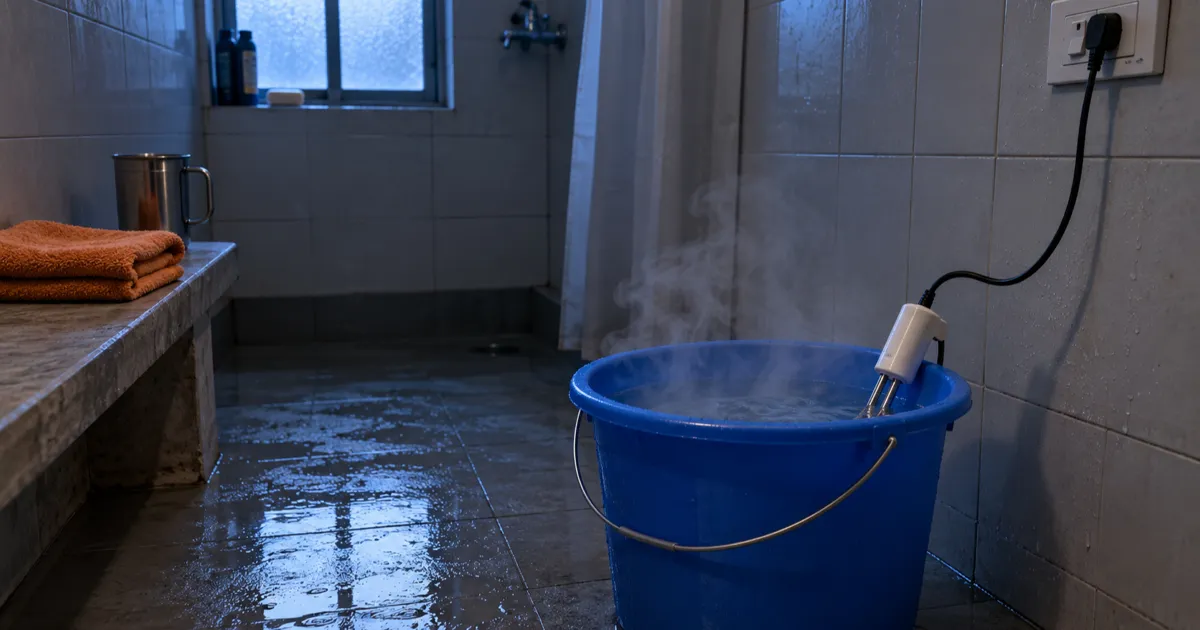
- Get permission before you bring any electric purifier or kettle, because appliance rules vary by hostel.
- Report problems in writing, with dates and photos, so the fix is on record.
Why Does Hostel Water Need Checking?
Shared water systems can go wrong at several points, and you usually can't tell by looking. The World Health Organization links contaminated drinking water to diseases such as diarrhoea, cholera, dysentery and typhoid. In a hostel, one neglected tank or cooler can affect a whole floor at once.
The good news is that most problems are easy to spot once you know where to look. You don't need lab tests. You need a few questions, a quick look at the equipment and a backup plan.
Step 1: Find Out Where the Water Comes From
By the end of this step, you'll know the full path your drinking water takes. That tells you which parts to check next.
- Ask the warden or caretaker whether drinking water comes from a municipal line, a borewell, a tanker or a mix.
- Ask whether drinking water is purified centrally or only at the corridor cooler.
- Find out which taps are meant for drinking and which are for washing only. Some hostels label them; many don't.
- Ask what happens during power cuts, since an RO unit can't purify without electricity.
You've finished this step when you can trace the water from its source to your bottle.
Step 2: Inspect the Purifier and Cooler
A purifier works only when it's serviced on schedule. Old filters and membranes stop doing their job, and a neglected unit can end up holding more germs than it removes.
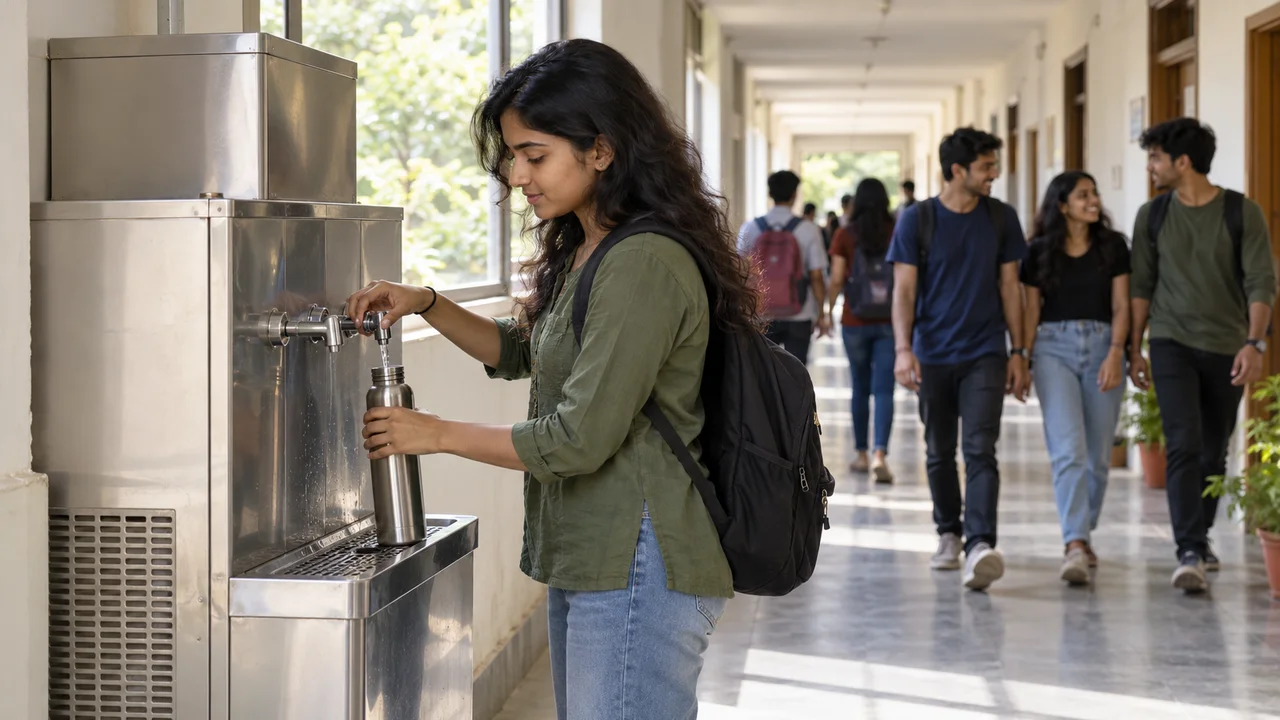
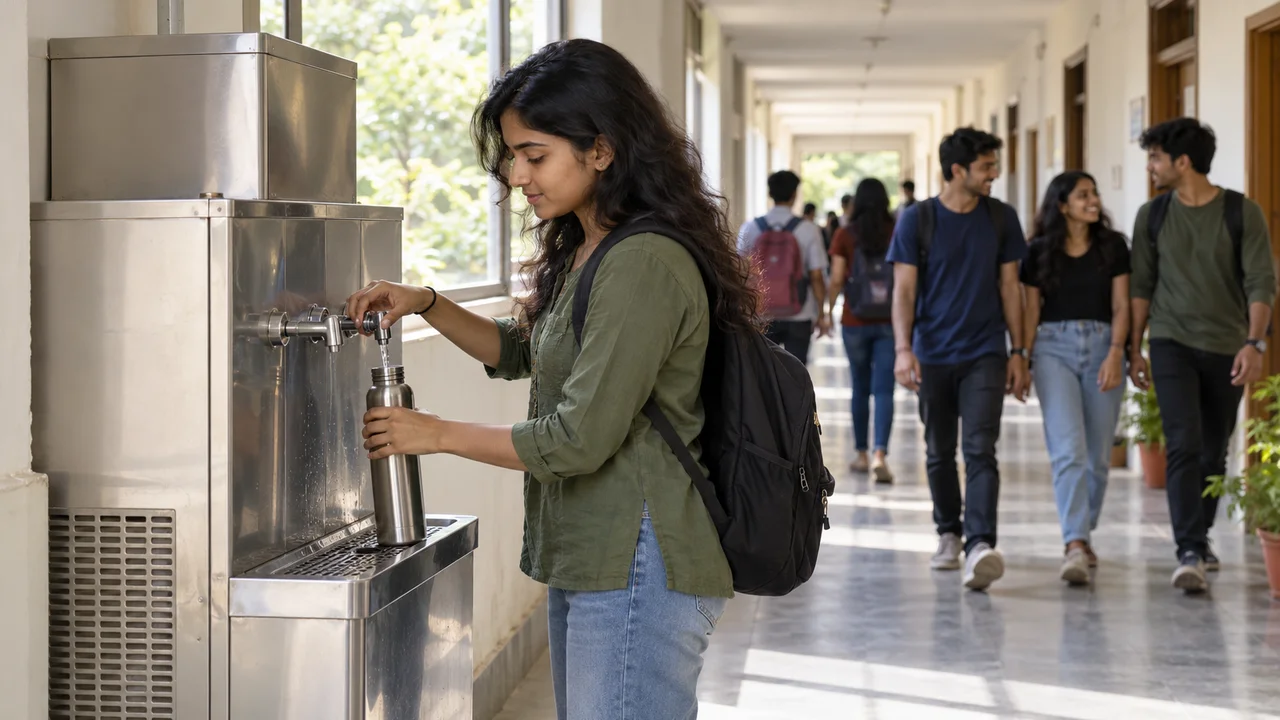
- Look for a service sticker or logbook on or near the unit and check the last service date.
- Check that the indicator lights show normal operation and that no warning light is on.
- Look at the dispensing tap. Slime, rust, scale or a leaking nozzle are warning signs.
- Notice how the water looks, smells and tastes. Cloudiness, a musty smell or an odd taste mean you should switch to a backup and report it.
- Check the area around the cooler. Standing water and dirty mugs left on the drip tray spread germs.
It's also worth knowing what the technology does. RO is mainly meant to cut dissolved salts, which matters for hard borewell water, while UV stages target microbes. Neither helps if the storage tank after the purifier is dirty.
Step 3: Ask About Tanks and Cleaning
Overhead and underground tanks are the part of the system students see least, and they're often the weak link. Ask the warden when the tanks were last cleaned and whether lids are kept closed and locked.
If you can see a tank safely, check for a tight lid, no visible gaps for birds or insects, and no algae on the outside. Don't climb onto rooftops or open tanks yourself. Note what you're told and the date, because that helps if you need to follow up later.
Step 4: Pick a Backup That Suits Your Room
You need a backup for the first week, during breakdowns and whenever something seems off. The right choice depends on your budget, your hostel's appliance rules and how much space you have.
| Option | Works well for | Watch out for |
|---|---|---|
| Sealed bottled water | Move-in week, breakdowns, travel | Broken seals, missing batch or expiry details, ongoing cost and plastic waste |
| Boiling | Killing germs when you doubt the supply | Doesn't remove salts or chemicals; needs a kettle, which many hostels restrict |
| Filter bottle or gravity filter | Rooms where electric appliances aren't allowed | Cartridges need replacing on schedule; check what the filter claims to remove |
| Personal electric purifier | Long stays where the shared supply is unreliable | Needs warden permission, a water connection and regular servicing |
Before you buy a kettle or a water purifier for hostel use, check whether your hostel allows it. Our guide on whether an electric kettle is allowed in a hostel explains why wardens restrict heating appliances and how to ask for permission. Whatever you choose, store water in a clean, covered bottle and wash it often.
Step 5: Report Problems in Writing
A written complaint gets a faster fix than a hallway mention. It also creates a record if the problem keeps coming back.
- Note the date, the cooler or tap location and what you saw, smelled or tasted.
- Take a clear photo of the unit, the tap or the water in a clear glass.
- Send it to the warden by email, the complaint register or the hostel's app, whichever your hostel uses.
- Ask for a date by which the unit will be serviced or the tank cleaned.
- If several residents are affected, file one joint complaint through your floor or hostel representative.
If anyone feels unwell, see a doctor first and mention the water when you report it.
Common Mistakes to Avoid
Trusting the RO label alone. Students assume "RO" means safe. Ask for the service date instead.
Refilling the same bottle for weeks without washing it. A dirty bottle can spoil clean water. Wash it with soap and let it dry fully.
Drinking from washroom taps. They may not be connected to the purified supply. Use only the taps your hostel marks for drinking.
Drinking too little in summer. Doubts about the water lead some students to cut back. Keep a backup ready and pair it with our tips on how to keep a hostel room cool.
Bottom Line
Safe water in a hostel comes down to three checks: a serviced purifier, clean tanks and clean taps. Ask about all three in your first week, keep sealed bottles or boiled water as a backup, and report problems in writing so they're fixed and on record.
Water is one of several things to sort out in your first weeks. If you plan to keep a two-wheeler for runs to buy bottled water or a filter, see Bringing a Bike or Scooter to Hostel: Parking and Rules, and if you're setting up a bank account or SIM at your new address, Address Proof When You Live in a PG: Bank, SIM and Aadhaar explains the paperwork.