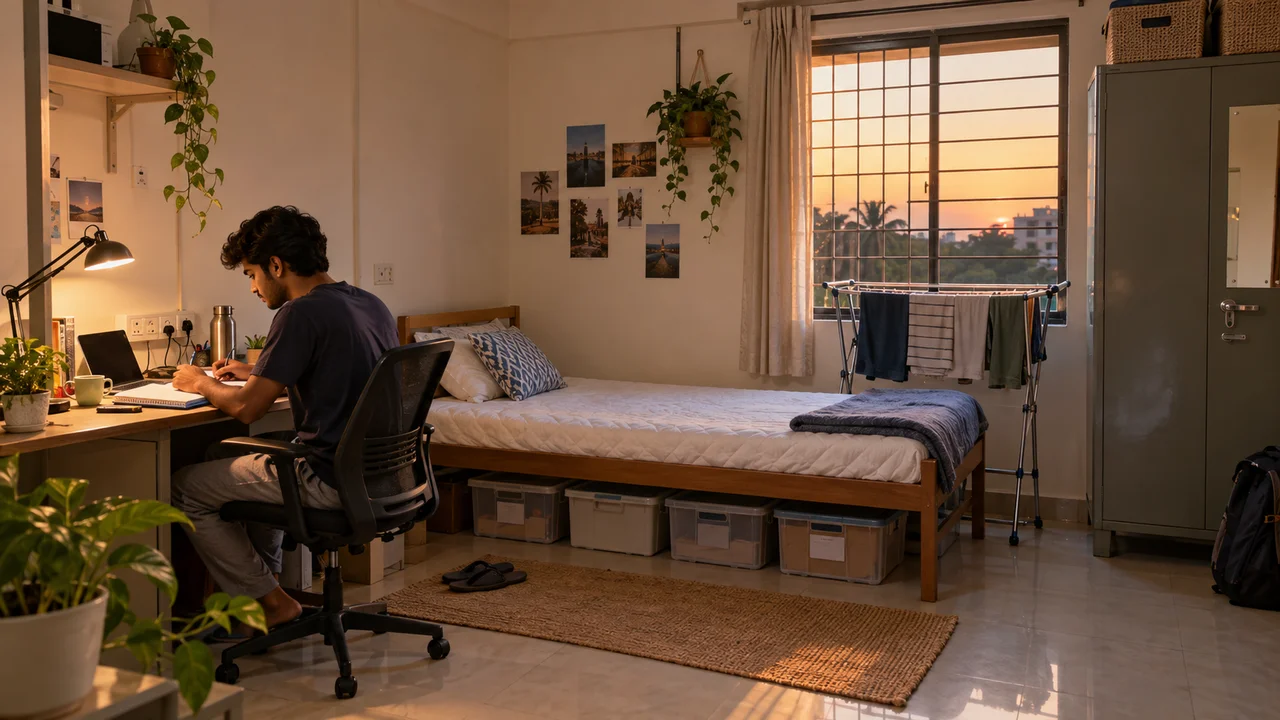
The hostel room accessories worth buying after week one are the ones that fix a problem you've actually hit: too few sockets, poor desk light, no storage, an uncomfortable mattress or a weak lock. Buy for the friction you noticed, not for a shopping list someone else wrote. Your first week shows you what the room provides, what your roommate already owns and what the hostel allows. That's information you didn't have when you packed.
This guide doesn't name brands or prices. Instead it explains what to look for in each type of accessory, the hostel-specific limits that matter (power rules, space, noise, shared walls) and how to decide what's worth spending on. If you haven't packed the basics yet, start with the hostel room essentials checklist for India and come back once you've moved in.
Key Takeaways
- Spend on the problems week one revealed, and skip anything the hostel or your roommate already covers.
- Check the hostel's appliance and wattage rules before buying anything that heats, cools or blends.
- A surge-protected extension board and a personal study lamp solve the two most common room complaints: sockets and light.
- Vertical and under-bed storage beat extra furniture in a shared room.
- Appliances like mixers and coffee makers belong at the end of your list, once you know your routine.
Why wait until after week one to buy?
Waiting a week stops you from buying things you'll never use. Rooms differ a lot: some come with a study table and a shelf, others with just a bed and a cupboard. Some have one socket near the door, others have several near the desk.
The first week also tells you the rules. Many hostels restrict heating appliances, and the limits differ from one institution or operator to the next. Some publish a list, some leave it to the warden. Ask before you buy, not after.
1. Surge-protected extension board: best for rooms with too few sockets
A good extension board is usually the first accessory students need, because shared rooms rarely have enough sockets in the right place. Laptops, phones, lamps and earphones all compete for the same point.
- Look for: individual switches per socket, a fuse or surge protection, a cord long enough to reach your desk, and a mix of socket types for your plugs.
- Hostel constraint: it isn't permission to run more appliances. Overloading one board is a common reason for tripped circuits in shared buildings.
- Skip: boards with loose sockets or flimsy wires that heat up.
2. Personal study lamp: best for late study without waking your roommate
A focused desk or clip-on lamp lets you study after lights-out without keeping the whole room awake. Overhead tube lights are rarely placed for reading, and they cause the most roommate friction.
- Look for: LED, adjustable brightness, a flexible neck, warm and cool light settings, and a clamp or a weighted base.
- Rechargeable or plug-in: rechargeable lamps help during power cuts and free a socket; plug-in lamps never run out mid-chapter.
- Noise check: pick a model with a quiet switch or touch control if you study late.
3. Vertical and under-bed storage: best for small shared rooms
Storage that uses height and the space under the bed works better than extra furniture in a hostel room. You usually can't add shelves or drill walls, so pick pieces that stand, hang or slide.
- Options: over-the-door hooks, hanging cupboard organisers, stackable boxes with lids and flat under-bed bags.
- Look for: lids to keep out dust, handles, and boxes that fit the gap under your bed. Measure it first.
- Hostel constraint: avoid adhesive hooks if the hostel charges for wall damage.
For layout ideas that work with these pieces, see these hostel room organisation hacks and storage ideas.
4. Mattress topper and protector: best for a thin or worn hostel mattress
If you woke up stiff in week one, a topper fixes more than any gadget will. Hostel mattresses are often thin and have been used by previous residents, so a protector also matters for hygiene.
- Look for: a topper that matches your bed size, a washable cover, and a protector with elastic edges that stays put.
- Space tip: foldable or roll-up toppers are easier to carry home during breaks.
5. Padlock and lockable box: best for securing valuables in a shared room
A sturdy lock costs little compared with what it protects. Many hostels give you a cupboard but expect you to bring your own lock.
- Look for: a solid body, a hardened shackle that fits your cupboard latch, and spare keys you can keep somewhere safe.
- Extra layer: a small lockable box or pouch for ID cards, original certificates and cash.
- Check: whether the hostel requires a specific lock type or keeps a master key.
6. Drying rack and hangers: best when balcony or terrace space is limited
A folding drying rack keeps wet clothes off chairs and bed rails. In monsoon months, indoor drying is often your only option.
- Look for: rust-resistant material, a folding design that slides behind a door, and clips for small items.
- Hostel constraint: some hostels don't allow clothes hanging from windows or corridor rails. A rack keeps you within the rules.
7. Earplugs, eye mask and a small fan: best for light sleepers
Sleep accessories matter most when your schedule doesn't match your roommate's. Corridors, early alarms and late callers are part of hostel life.
- Earplugs and mask: cheap, quiet and easy to replace. Choose soft, reusable earplugs you can wash.
- Personal fan: useful if the ceiling fan is far from your bed. Look for low noise and a speed setting, and check whether your hostel allows it.
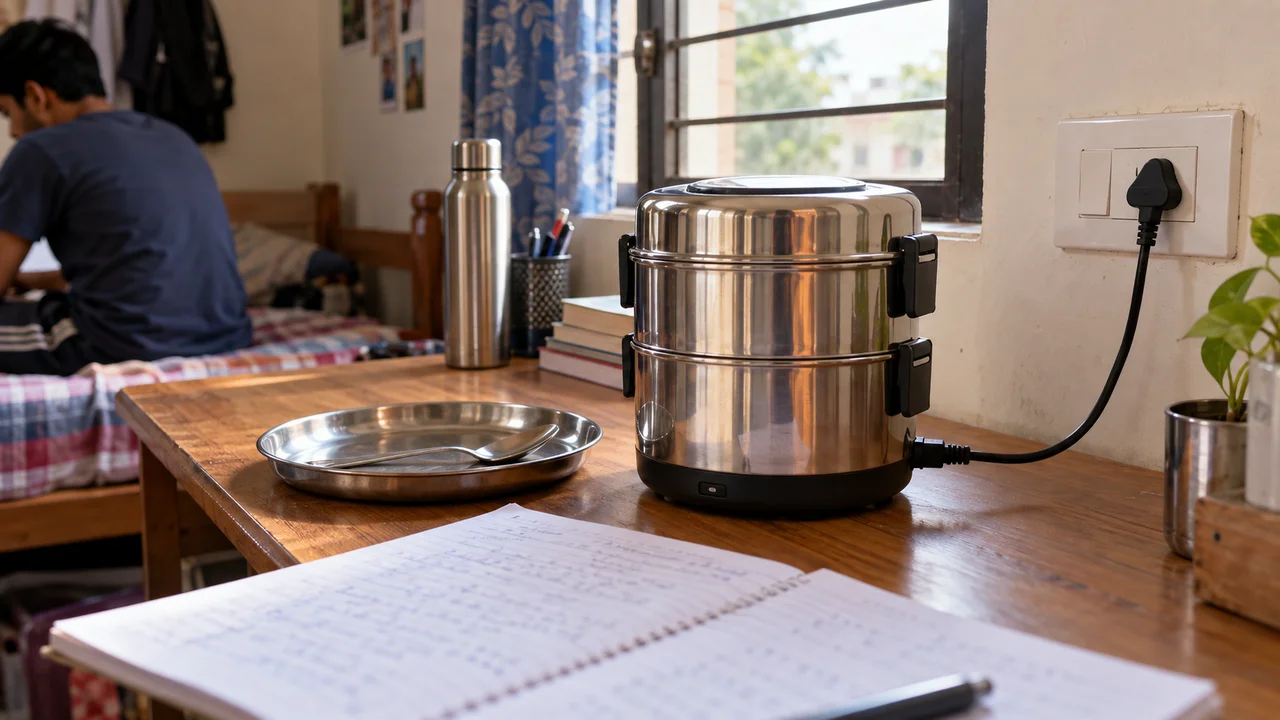
8. Kettle or coffee maker: best for early mornings, if rules allow
A kettle or small coffee maker earns its place only if the hostel permits it and you'll use it daily. Heating appliances are the items hostels restrict most often.
- Look for: auto shut-off, a dry-boil cut-off, a cool-touch body and a wattage within your hostel's limit.
- Noise and smell: drip machines and grinders can disturb a roommate early in the morning.
If coffee is your daily ritual, this guide to choosing a coffee maker for hostel rooms covers types in more detail.
9. Portable blender or mini mixer: best for protein shakes and quick smoothies
A personal blender suits students who make shakes or chutneys often, but it's the easiest item to buy and then forget. Wait until you know you'll use it more than now and then.
- Look for: a USB-rechargeable or low-wattage design, a leak-proof bottle and a jar that's easy to rinse in a shared washroom.
- Noise check: blending is loud. Plan when you'll use it.
For a closer look at sizes and power options, read about picking a portable blender or mixer for hostel use.
How the accessory types compare
The table below compares the types on the factors that matter most in a hostel: power draw, space, noise and rule risk. Use it to sort your list before you shop.
| Accessory type | Solves | Power use | Space needed | Noise | Check hostel rules? |
|---|---|---|---|---|---|
| Extension board | Too few sockets | Carries load | Small | None | Sometimes |
| Study lamp | Poor desk light | Low | Small | None | Rarely |
| Vertical and under-bed storage | Clutter | None | Uses unused space | None | If wall fixing is involved |
| Mattress topper and protector | Comfort, hygiene | None | On the bed | None | No |
| Padlock and lockable box | Security | None | Small | None | Sometimes |
| Drying rack | Wet laundry | None | Folds flat | None | Sometimes |
| Sleep kit and small fan | Noise, heat | Low (fan) | Small | Low | For the fan |
| Kettle or coffee maker | Hot drinks | High | Desk space | Low to medium | Always |
| Portable blender or mixer | Shakes, quick food | Low to high | Small | High | Always |
How these picks were chosen
This is a research-based buying guide, not a hands-on product test. The list focuses on problems students commonly report after moving in, and each type was judged on four questions:
- Need: does it fix a problem most rooms share?
- Rules: is it likely to be allowed, or does it need a check first?
- Space: does it fit a shared room without new furniture?
- Roommate impact: does it add noise, light or smell?
No product or seller paid for placement, and no specific brands are recommended here.
Bottom line: a post-week-one buying checklist
Buy in order of friction, with rule-sensitive items last. Before you check out, run through this list:
- Did this solve a problem I hit in week one?
- Does the room, the hostel or my roommate already provide it?
- Is it allowed under the hostel rules, including wattage limits?
- Will it fit without blocking walkways or shared space?
- Will it disturb my roommate with noise, light or smell?
- Can I carry it home or store it during breaks?
If an item passes all six, it's worth buying. If it fails one, wait a few weeks and ask again.
If the bed is the weakest part of your room, Best Mattress for a Hostel Bed (Single Size) is worth a look, and if mornings are your weak spot, Best Alarm Clocks for Students Who Oversleep rounds out the bedside setup.