
Moving into a hostel gets all the attention. Moving out gets none, until you lose ₹5,000 of your deposit because you did not follow the hostel checkout process India properly. No room condition video, no written notice, no utility settlement. The hostel owner deducts whatever they want and you've no proof to argue.
This guide covers the full timeline from 30 days before move-out to the day you hand over the keys. Follow it step by step and you walk out with your full deposit, a clean record, and nothing left behind.
If you're unsure about your deposit rights, read the deposit refund rules guide first. It covers what your hostel can legally deduct and what they can't.
30 Days Before: Start the Hostel Checkout Process
Give Written Notice
Most hostels and PGs require 30 days' written notice before vacating. This is not optional, it's usually in your rental agreement. If you give notice late, the hostel can charge you for the extra days or forfeit part of your deposit.
How to give proper notice:
- Write a simple letter or email: "I am vacating Room [number] on [date]. Please confirm receipt of this notice."
- Get the hostel owner or manager to sign a copy. Or if it's over email/WhatsApp, get a reply acknowledging the date.
- Keep a screenshot or photo of the signed notice. This is your proof.
If your agreement says 15 days' notice, follow that. If it says nothing about notice period, 30 days is the safe default.
Take the Room Condition Video
This is the most important thing you'll do during checkout. On the day you give notice, before you start packing, before you move anything, record a video of the entire room.
What to record:
- All four walls (cracks, paint condition, stains, nail holes)
- Ceiling and floor
- Windows, doors, and locks
- Bathroom condition (taps, tiles, drainage)
- All hostel-provided furniture (bed frame, desk, chair, almirah)
- Any existing damage that was there when you moved in
- Electrical switches, fan, light fixtures
How to record: Slow, steady pan. Narrate as you go: "This is the almirah. The lock is working. There's a scratch on the left door that was here when I moved in." Get a timestamp visible, most phones show date and time in video metadata. Share the video with the hostel manager via WhatsApp so the timestamp and delivery receipts are documented.
This video is your protection against false damage claims when the hostel tries to deduct repair costs from your deposit.
21 Days Before: Settle Finances
Calculate Outstanding Payments
Check what you owe and what the hostel owes you:
- Remaining rent, pro-rated if moving mid-month
- Electricity and water charges, some hostels charge separately. Ask for a final meter reading.
- Mess charges, if your hostel charges monthly mess fees, confirm whether the current month is paid
- Laundry or other services, any pending charges
Confirm Deposit Amount and Refund Timeline
Pull out your original receipt or agreement. Confirm:
- How much deposit you paid
- What deductions are allowed (damage, cleaning, unpaid rent)
- When the hostel will return the deposit (most say 15-30 days after checkout)
- How they'll return it (bank transfer, cheque, cash)
Get the refund commitment in writing, WhatsApp message or email from the hostel owner with the amount and date. Verbal promises are worth nothing when the deposit doesn't show up.
For tips on negotiating deposit recovery, check the rent negotiation scripts guide, the same negotiation principles apply.
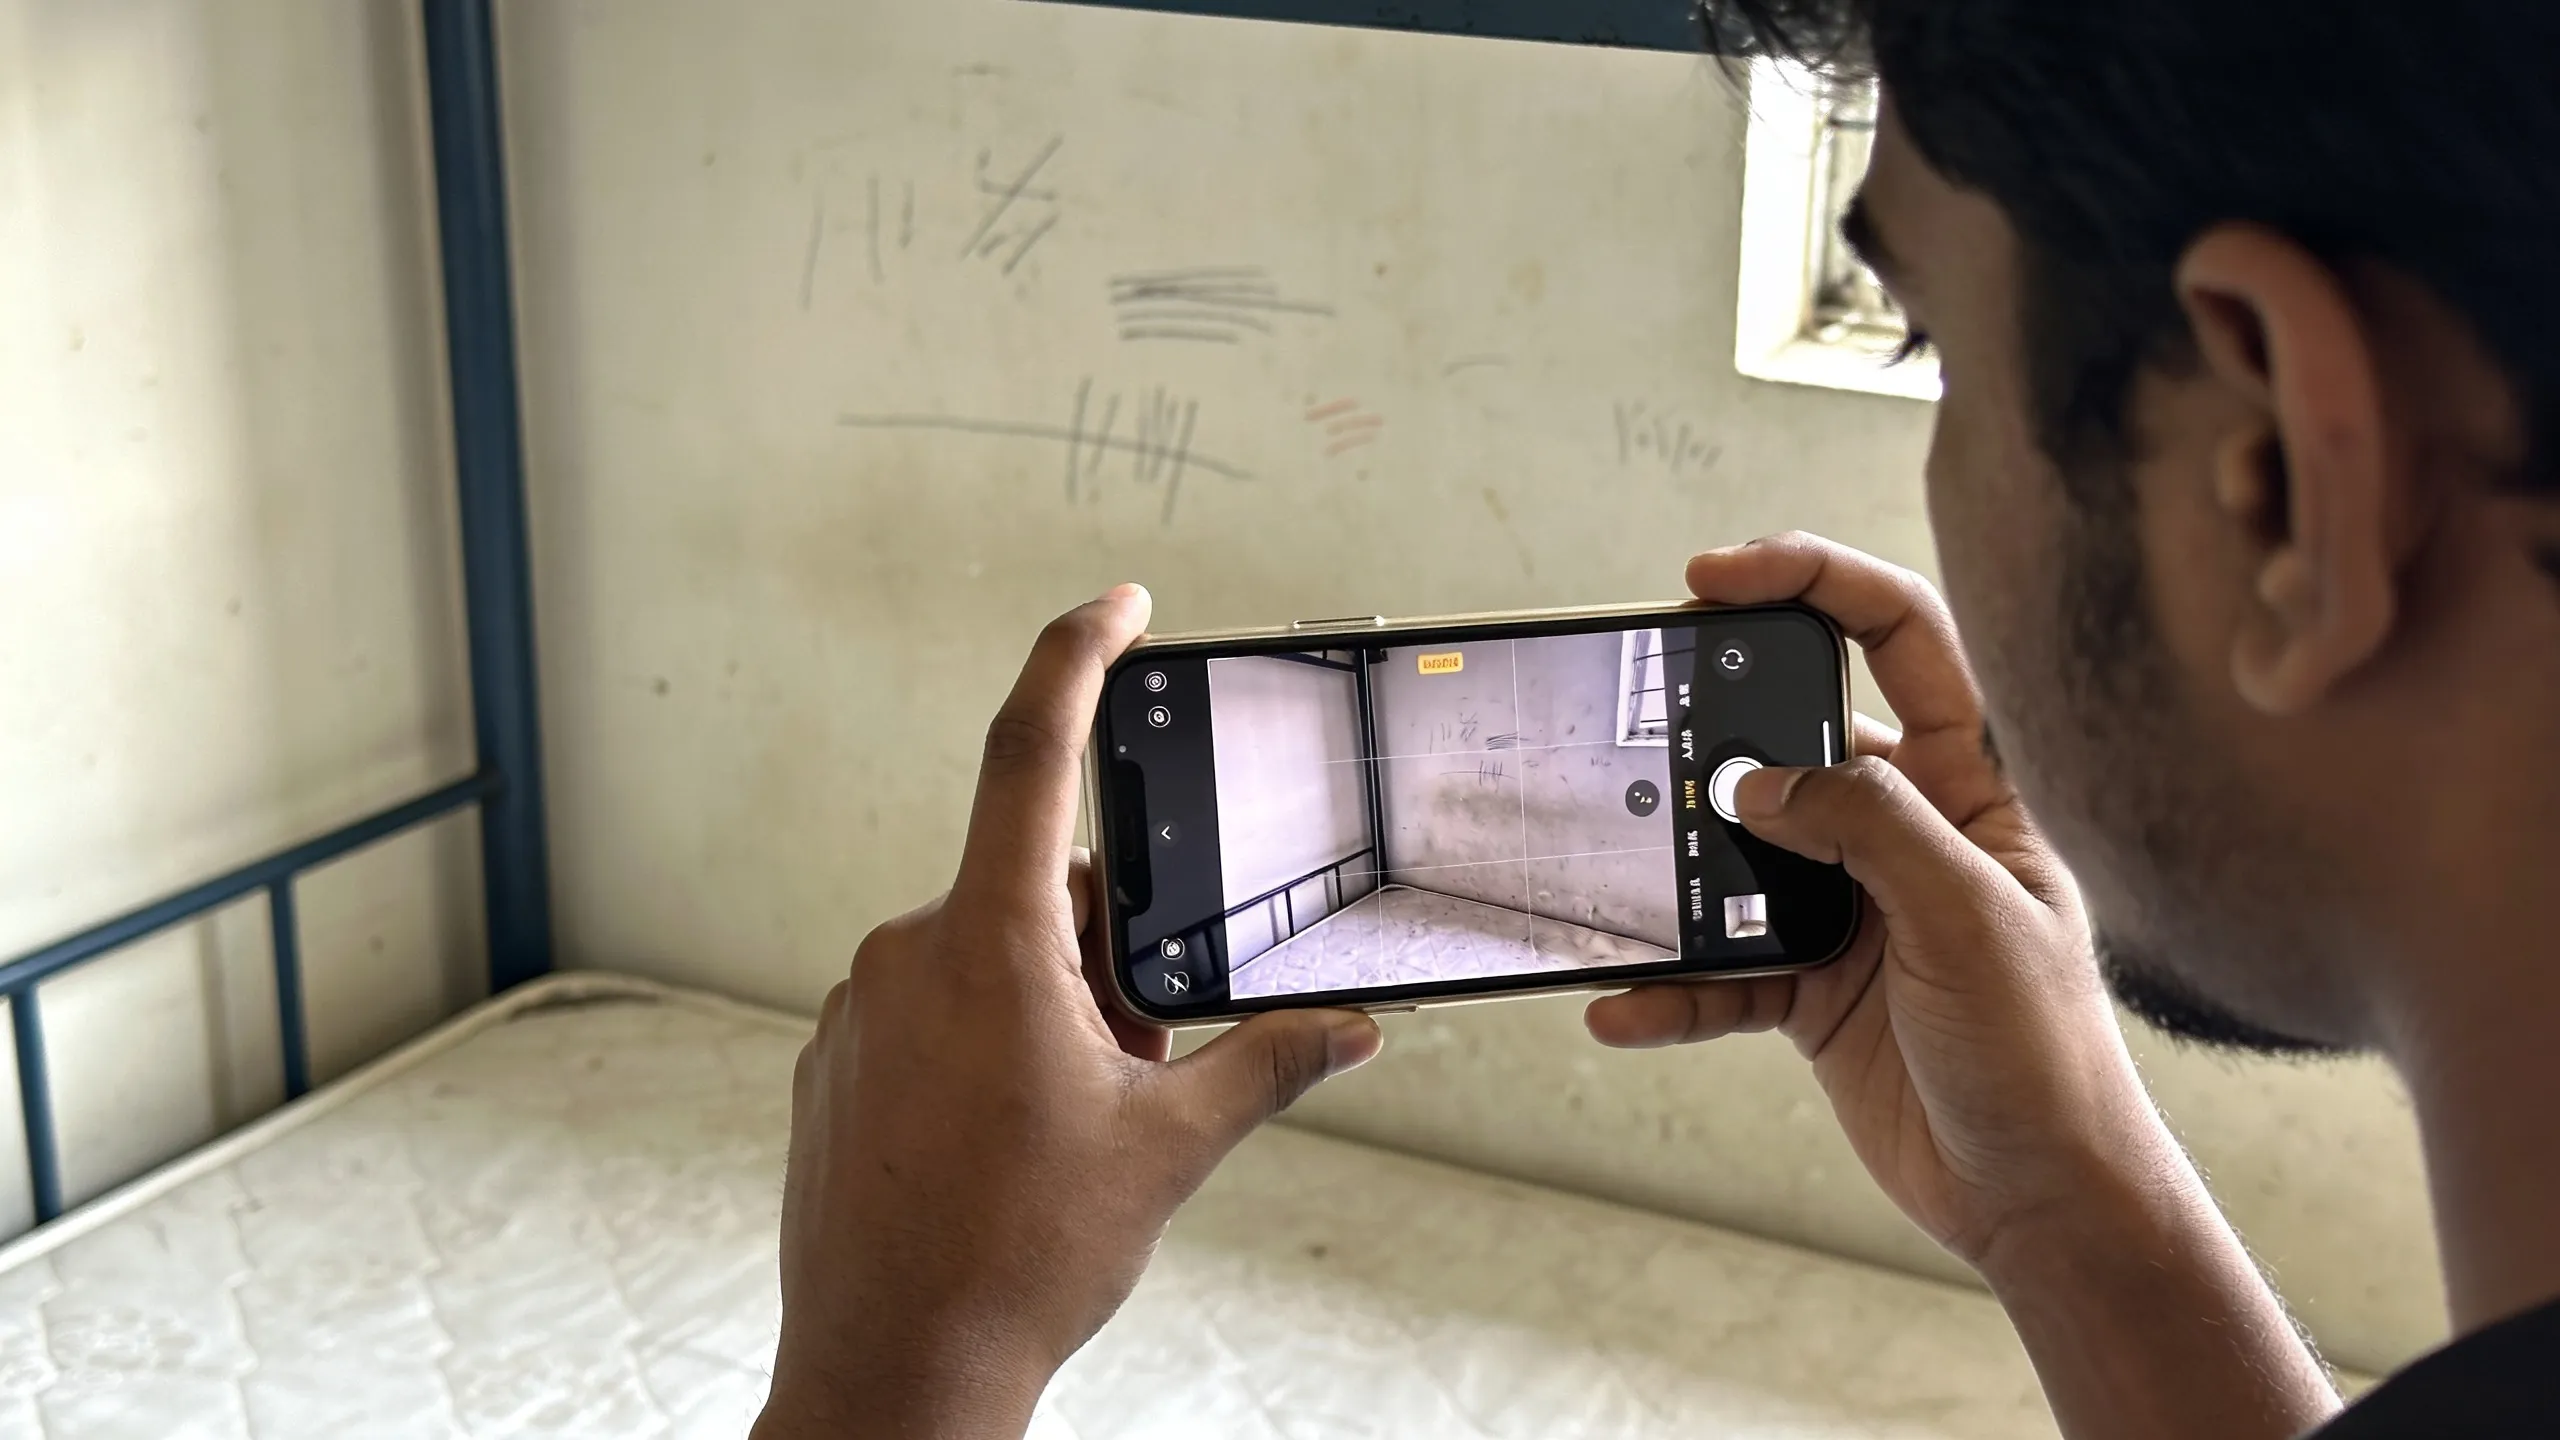 Record every wall, door, and piece of furniture on video. This 5-minute recording protects your entire deposit.
14 Days Before: Sort Your Stuff
The Keep / Sell / Donate Decision
After a year (or more) in a hostel, you accumulate things. Not everything is worth carrying home. Sort everything into three categories:
Keep (take home):
- Electronics (laptop, phone, charger, earphones)
- Documents (college papers, certificates, ID cards)
- Clothes you actually wear
- Personal items with sentimental value
Sell (recover some money):
- Mattress topper (₹400–₹800 resale value if in good condition)
- Study lamp, extension board, desk fan
- Electric kettle, mini fridge (sell to juniors moving in)
- Books from completed semesters
Where to sell: Post on your college WhatsApp groups or hostel notice board. Juniors moving in are the best buyers, they need exactly what you're getting rid of. OLX and Facebook Marketplace work for bigger items like mini fridges.
Donate (give away):
- Bedsheets, towels, buckets, worn but usable
- Unopened groceries, cleaning supplies
- Hangers, hooks, storage boxes
Ask the hostel warden if they accept donations for incoming students. Many hostels maintain a small stock of basics for new residents.
Cancel or Transfer Subscriptions
- Cancel any meal subscription or tiffin service (see our hostel food survival guide for meal alternatives at your new place)
- Cancel local gym membership (check if you need to give notice)
- Transfer or cancel your internet plan if you've a separate one
- Update your delivery addresses (Amazon, Flipkart, Swiggy)
7 Days Before: Deep Clean and Pack
Clean the Room Properly
A clean room reduces the chance of cleaning deductions from your deposit. You don't need professional cleaning, just basic effort.
Cleaning checklist:
- Sweep and mop the floor
- Clean the bathroom (toilet, basin, mirror, tiles)
- Wipe down the desk, almirah, and shelves
- Remove all adhesive hooks, tape, and posters without damaging paint
- Clean the fan blades (accumulated dust is visible and gets flagged)
- Wash or wipe windowsills
If you stuck posters with tape or nails: Fill small nail holes with white toothpaste or wall putty (₹30 at any hardware shop). Remove tape residue with a damp cloth and some cooking oil. These small fixes prevent ₹200–₹500 paint repair deductions.
Pack Strategically
- Label boxes with contents ("kitchen items", "books", "clothes")
- Pack electronics in their original boxes if you kept them, or wrap in clothes for padding
- Keep one change of clothes, toiletries, charger, and documents accessible, not buried in a sealed box
- If shipping items home via courier, use Delhivery or DTDC for bulky items. Book the pickup 3-4 days in advance during exam/moving season.
For a full packing reference, the hostel room essentials checklist works in reverse, check off items as you pack them. If you're relocating to a new city, browse options like Koramangala Stay or HSR Layout PG to line up your next place before you move out.
Move-Out Day: The Handover
Final Room Inspection
Walk through the room with the hostel owner or manager. This is the joint inspection where both of you agree on the room's condition.
Bring your move-in video (or photos) so you can compare. If the hostel claims a scratch on the almirah that was already there when you moved in, your video settles it immediately.
What to check together:
- All hostel-provided items are present (bed frame, mattress, desk, chair, almirah, fan, light)
- No new damage to walls, floor, doors, or windows
- Bathroom is clean and functional
- Electricity and water are turned off
- Keys and access cards are returned
Get a Signed Handover
Ask the hostel manager to sign a handover note, a simple paper or WhatsApp confirmation that says:
"Room [number] handed over by [your name] on [date]. No damage found. Deposit of ₹[amount] to be refunded by [date]."
If they find damage, get the specific deduction amount agreed in writing before you leave. "Paint repair: ₹500" is better than "we'll let you know the deductions later."
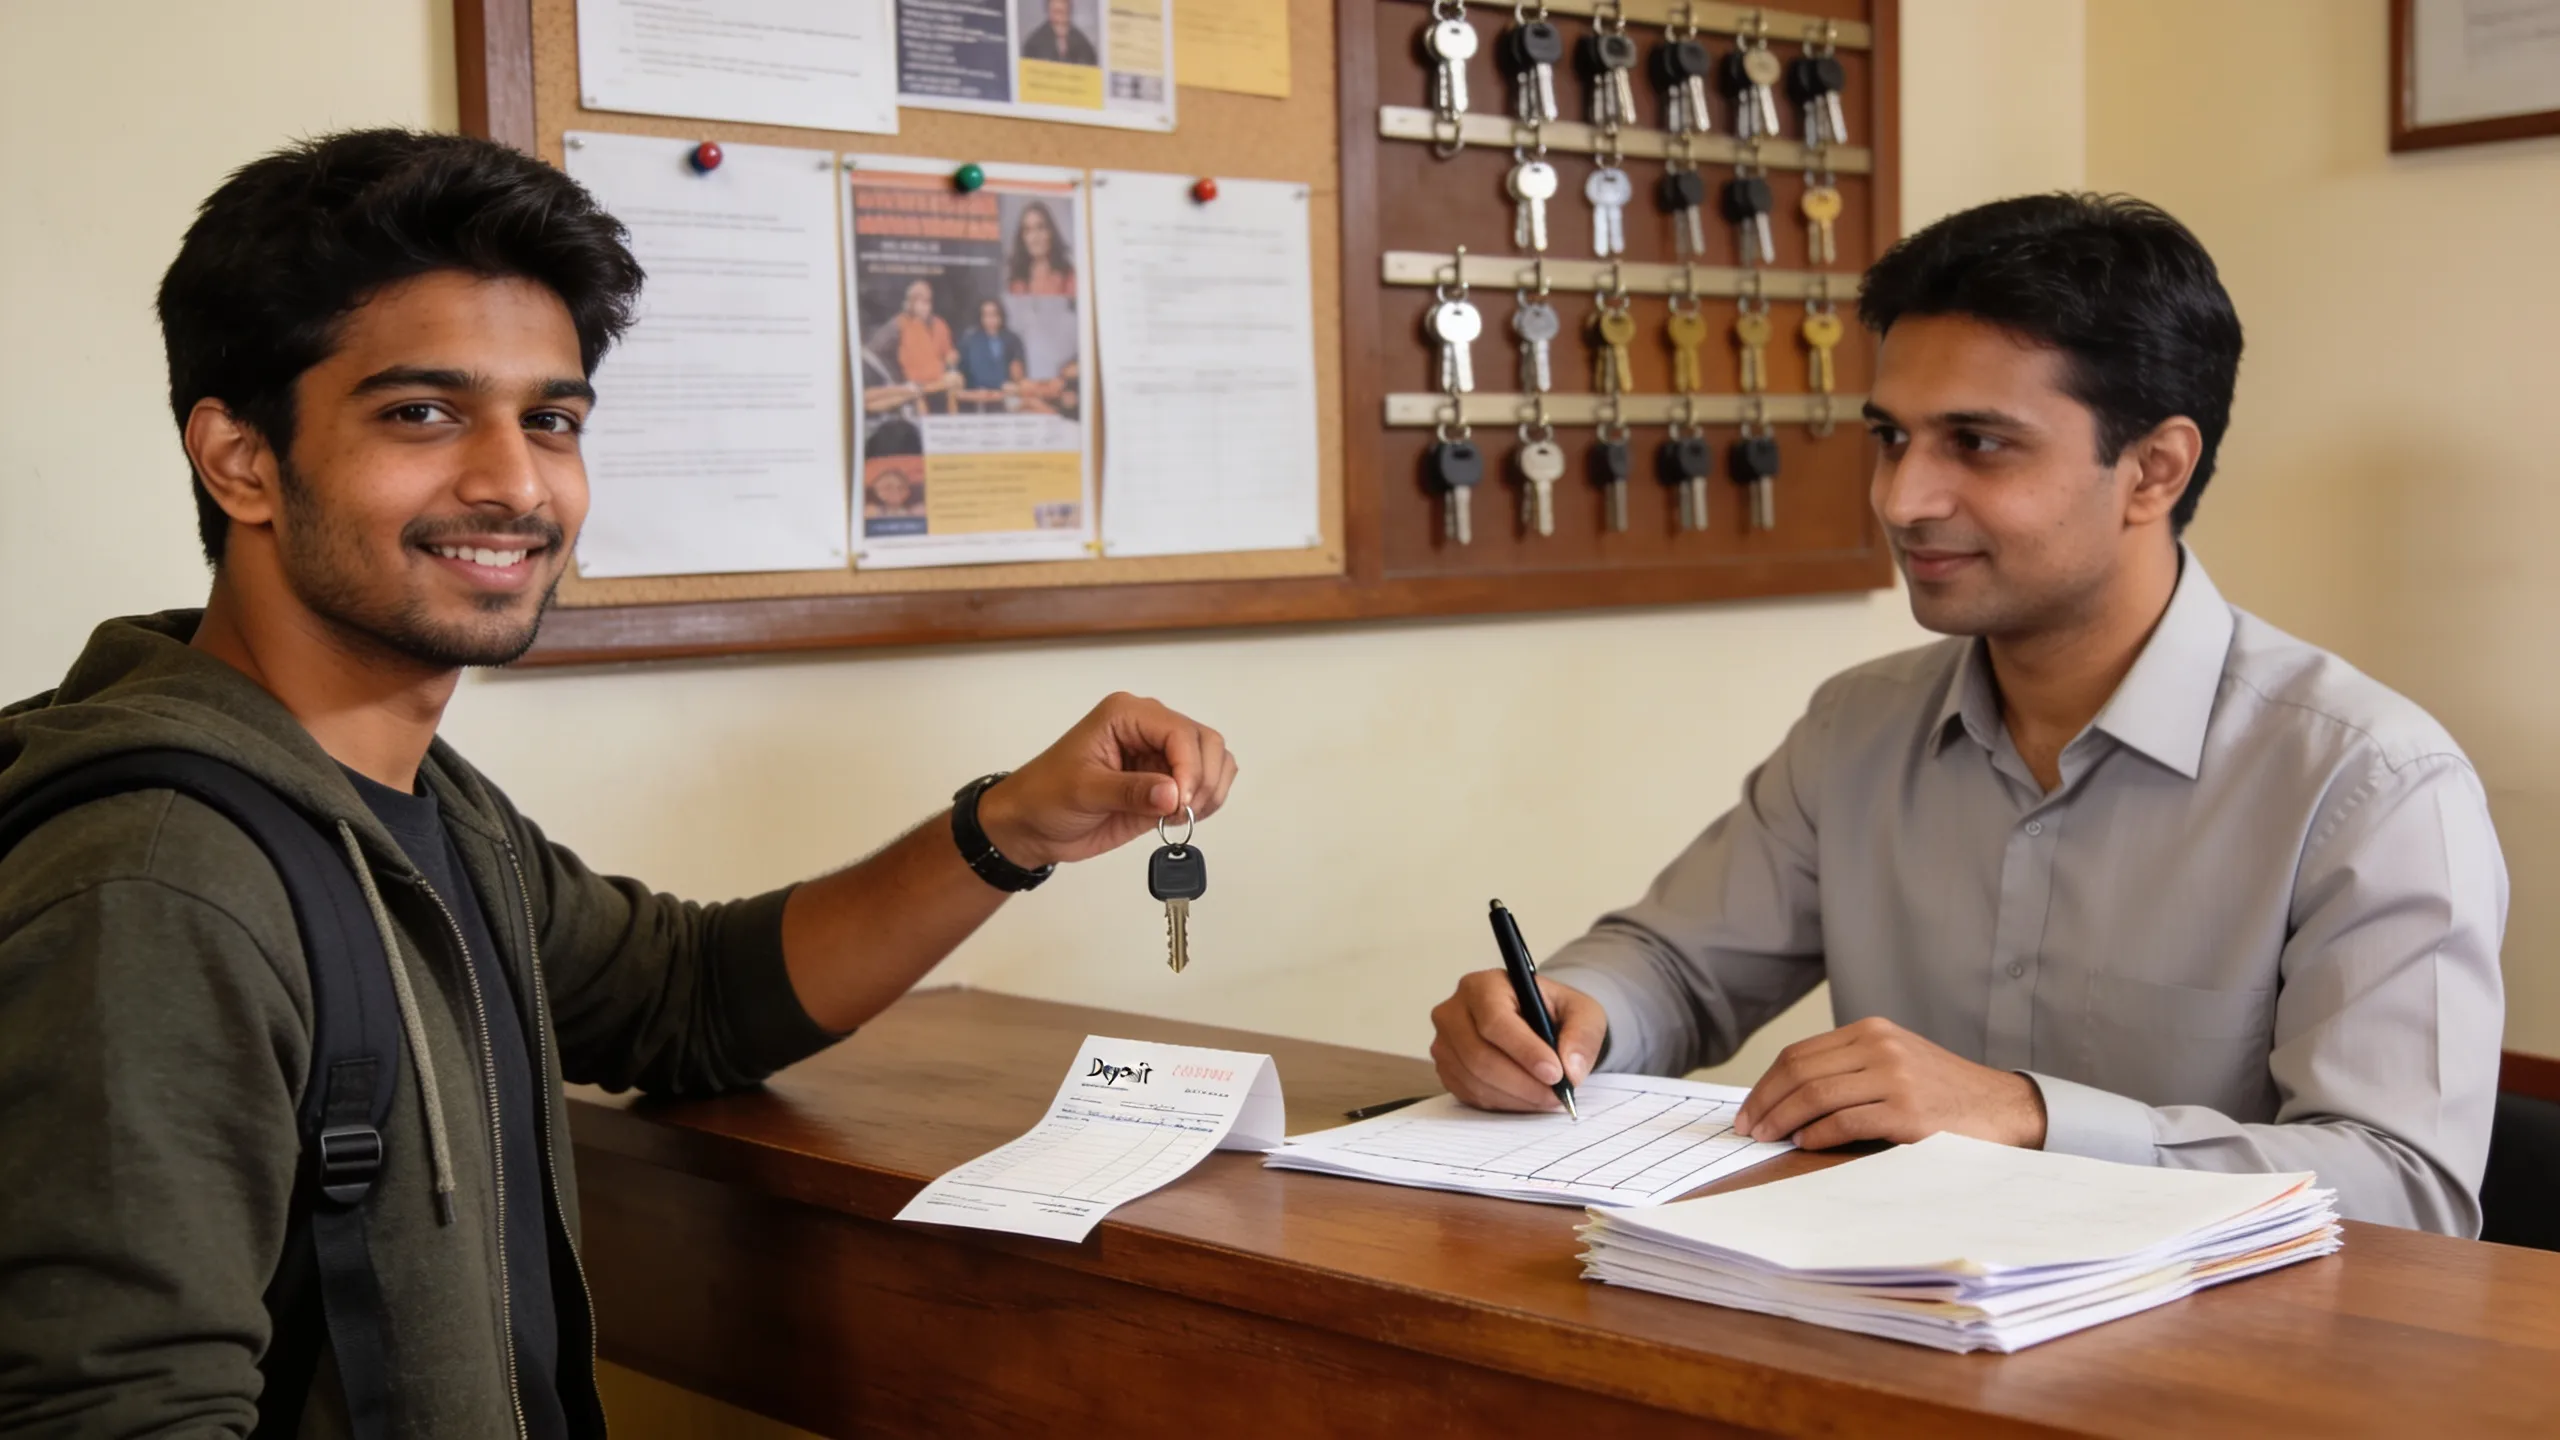 The handover is not complete until you get written confirmation of the room condition and deposit refund date.
Return Everything
- Room keys (all copies)
- Gate or building access card
- Library card or common room key (if applicable)
- Any hostel-owned items you borrowed (iron, toolkit, etc.)
Set Up Mail Forwarding
If you receive any mail at the hostel address:
- Update your bank, college, and government ID addresses
- Ask a friend who is staying to hold any letters that arrive after you leave
- Update your address on Aadhaar if this was your listed address (takes 2 minutes on the UIDAI website)
After Moving Out: Follow Up on Your Deposit
Don't wait passively for the deposit refund. Set reminders:
- Day 1 after checkout: Send a WhatsApp message confirming the handover and asking for the refund timeline.
- Day 15: Follow up if the deposit has not arrived. Reference the signed handover note and agreed date.
- Day 30: If still no refund, escalate politely but firmly. Mention the Rent Control Act and your documentation (notice, videos, signed handover). Most hostels comply when they see you're organized.
- Day 45+: If the hostel is unresponsive, file a complaint with the local consumer forum or police station. The documentation you collected makes this straightforward.
The Complete Hostel Checkout Checklist for India
| Timeline | Task | Done? |
|---|---|---|
| 30 days before | Give written notice | |
| 30 days before | Take room condition video | |
| 21 days before | Calculate outstanding payments | |
| 21 days before | Confirm deposit amount and refund timeline in writing | |
| 14 days before | Sort items: keep, sell, donate | |
| 14 days before | Cancel subscriptions and transfer addresses | |
| 7 days before | Deep clean the room | |
| 7 days before | Pack and label boxes | |
| 7 days before | Book courier for shipping (if needed) | |
| Move-out day | Joint room inspection with hostel manager | |
| Move-out day | Get signed handover confirmation | |
| Move-out day | Return all keys and access cards | |
| Move-out day | Turn off electricity and water | |
| After checkout | Follow up on deposit refund at 15-day intervals |
Looking for your next hostel in Mumbai or Bangalore? Check deposit policies, amenities, and reviews before booking your next place.