
Knowing how to set up a hostel room properly on day one saves you weeks of "I'll do it later" chaos. Most students dump their bags, shove clothes into the cupboard, and call it done. Two weeks later, they can't find their charger, the bed smells, and the desk is buried under random stuff. This guide walks you through a 4-hour first day hostel room setup, hour by hour, so your room works for you from night one.
If you haven't packed yet, check the hostel room essentials checklist first. It covers everything you need to carry.
Before You Start: The 15-Minute Walkthrough
Don't unpack anything yet. Walk the room first.
- Check the mattress. Flip it. Look for stains, bed bugs, sagging spots. If it's bad, request a replacement or plan to buy a mattress topper.
- Test the fan and lights. Flip every switch. Check if the tubelight flickers and if the fan has a speed regulator.
- Open the cupboard. Wipe down shelves. Check the lock, bring your own padlock if the one provided feels flimsy.
- Check the switchboard. Count the sockets. Note which ones work. Figure out where your phone and laptop charger will go.
- Test the tap and flush. Run the bathroom tap. Flush the toilet. Check water pressure. Ask the warden about water timing.
- Look for damage. Scratched walls, broken window latch, missing hook. Report it to the hostel office now, or you'll be blamed at checkout.
This walkthrough takes 15 minutes and prevents problems that take weeks to fix.
Hour 1: Clean and Prep the Room
Your room was used by someone else. Even if it looks clean, it's not your kind of clean.
What to Clean
- Mattress: Sprinkle baking soda, let it sit for 10 minutes, then brush it off. Lay your bedsheet on top.
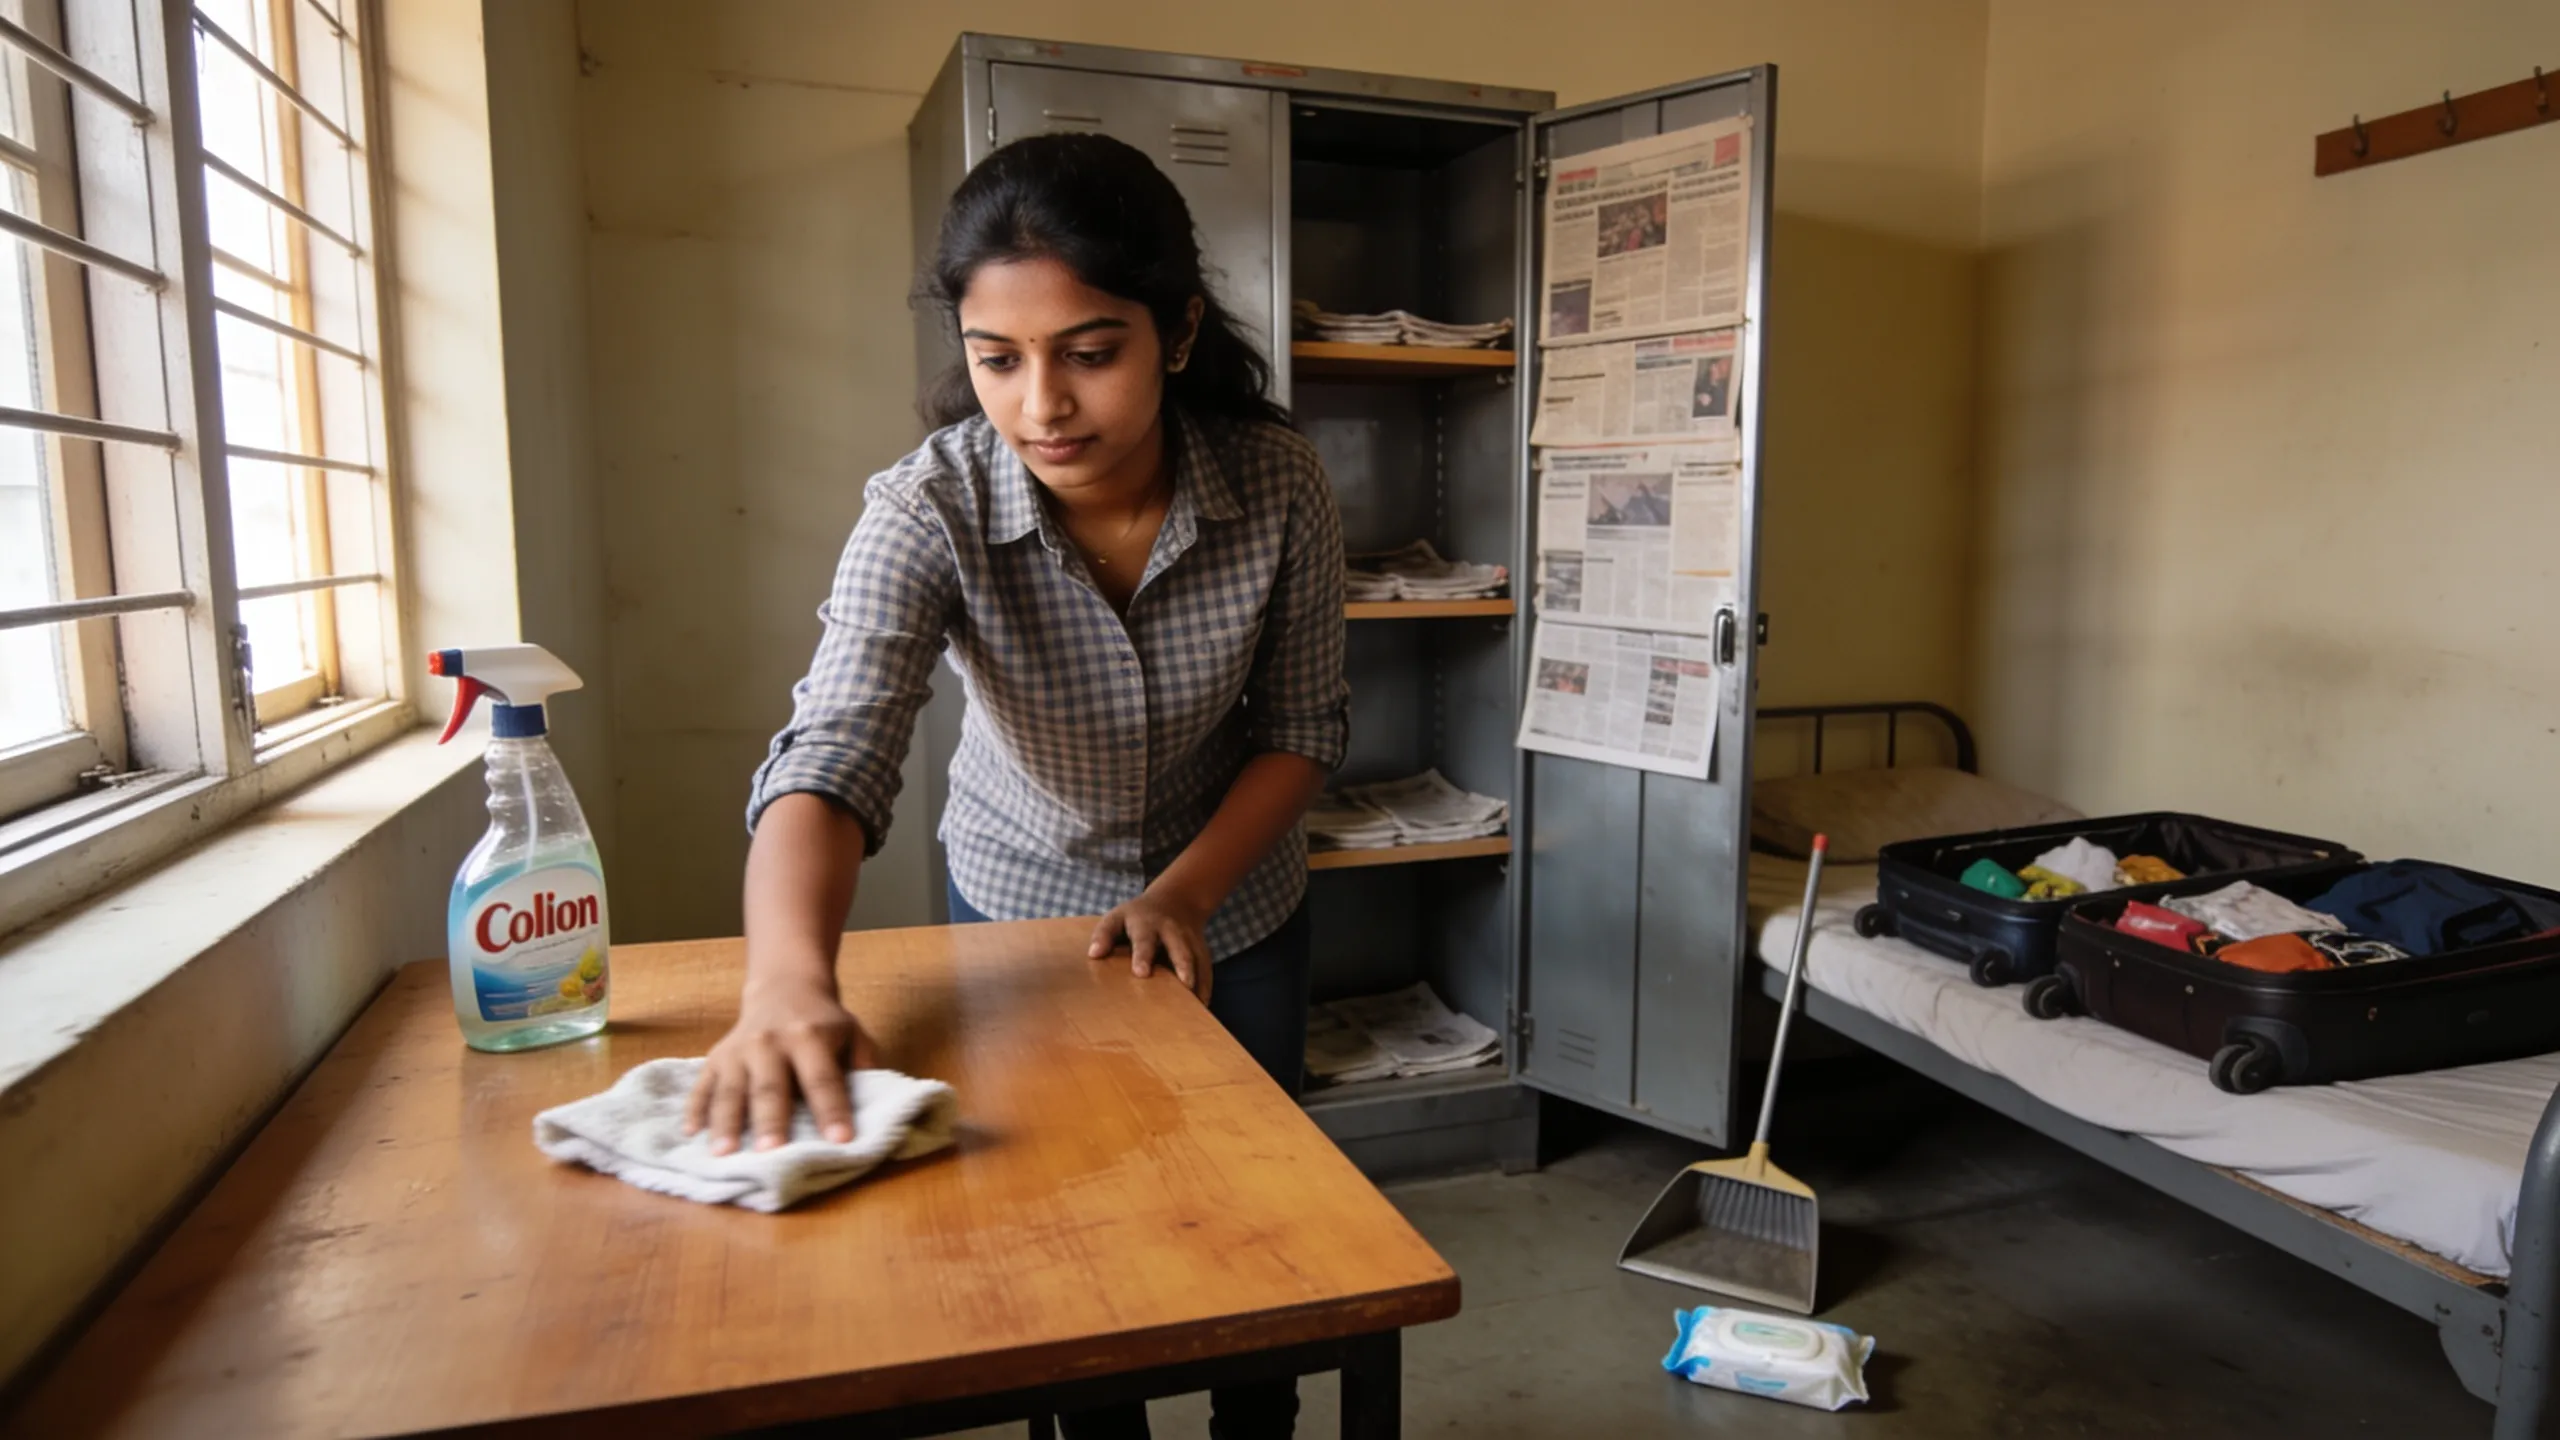
- Desk and shelves: Wipe with a damp cloth and let dry. Line shelves with newspaper or contact paper for a clean base.
- Floor around your bed: Sweep or mop. Focus on under the bed and corners, dust collects fast in shared rooms.
- Cupboard interior: Wipe every shelf. Use a dry cloth if you don't have cleaner. Let it air out while you work on other things.
Keep a small cleaning kit handy, a Colin spray bottle, a pack of wipes, a dustpan, and a cloth. Total cost: under ₹200. For a full cleaning routine that takes 30 minutes weekly, see our hostel room cleaning guide.
 Fifteen minutes of cleaning on day one saves you from weeks of living with someone else's dust.
Hour 2: Set Up Your Hostel Room Bed and Sleeping Zone
Your bed is where you spend the most time. Set it up properly.
- Lay the mattress protector (if you've one), this keeps sweat and spills off the mattress.
- Spread your bedsheet. Tuck the corners under the mattress for a tight fit.
- Set up your pillow. If the hostel pillow is flat, stack two or bring your own.
- Hang a bedside caddy or place a small pouch for your phone, earphones, and water bottle.
- Attach your study lamp, clip-on or clamp-on types work best on bed frames. Check our study lamp guide for picks under ₹1,200.
If you're on a bunk bed, claim the side with the switchboard access. Top bunk gets more air; bottom bunk gets easier access. Pick based on what matters more to you.
Hour 3: Organize Your Cupboard and Clothes
Don't shove everything in at once. You'll reorganize it three times if you do.
Cupboard Layout That Works
- Top shelf: Items you rarely use, extra bedsheet, formal clothes, seasonal stuff
- Eye-level shelf: Daily wear, T-shirts, jeans, kurtas. Stack vertically (the KonMari fold) so you see every item without digging.
- Bottom shelf or drawer: Undergarments, socks, gym clothes
- Cupboard door hooks: Towel, belt, lanyard with hostel ID
- Inside the cupboard floor: Shoe rack or bag with shoes
Use a shelf divider (₹150–₹250 from Amazon) to split shelves into zones. Without dividers, stacks collapse within two days.
For more cupboard and storage strategies, the hostel room storage hacks guide goes deeper.
Toiletries and Daily Kit
Keep your toiletry bag ready to grab and carry to the bathroom. A hanging toiletry organizer works better than a plastic bag, it dries faster and keeps things separated. Place it on a hook near your bed or inside the cupboard door.
Hour 4: Set Up Your Study Zone
This is the part most students skip on day one and regret during the first assignment.
Desk Setup Checklist
- Clear the desk completely. Wipe it. Start from zero.
- Place your laptop in the centre. Position the screen at eye level, use a book stack as a laptop stand if needed.
- Set up your desk organizer, pens, sticky notes, charger cable, earphones. Everything has a slot.
- Route your cables, use cable clips along the desk edge so nothing tangles.
- Position your study lamp to the left if you're right-handed (to avoid hand shadows), right if you're left-handed.
- Stick a mini whiteboard or corkboard on the wall above your desk for schedules and reminders.
If your hostel doesn't provide a decent desk, a portable laptop desk that sits on your bed works as a temporary fix.
For the complete study zone blueprint, lighting, noise control, and focus tools, check the study corner setup guide.
The Last 30 Minutes: Personal Touches and Introductions
Make It Yours
String up fairy lights. Pin a few photos. Set a plant on the desk. It doesn't take much, ₹300 of budget decor makes a hostel room feel like your space instead of a transit point.
Introduce Yourself to Your Roommate
If your roommate is already there, have a 5-minute conversation. Cover the basics:
- Sleep schedule, "I usually sleep by midnight, is that okay?"
- Study habits, "I study late sometimes. I'll use a lamp, not the main light."
- Noise preferences, "I use headphones for music. Cool?"
- Shared stuff, "Happy to share the extension cord. Let me know."
This conversation prevents 90% of roommate friction. For more shared living strategies, read the hostel room privacy solutions guide.
Day-One Setup Checklist
Use this as a printable checklist:
- [ ] 15-minute walkthrough (mattress, fan, lights, cupboard, taps, damage)
- [ ] Report any damage to hostel office
- [ ] Clean mattress, desk, cupboard, floor
- [ ] Set up bedsheet, pillow, bedside caddy
- [ ] Attach study lamp to bed or desk
- [ ] Organize cupboard: top (rare), middle (daily), bottom (undergarments)
- [ ] Set up toiletry bag on hook or cupboard door
- [ ] Clear and set up desk with organizer and cable clips
- [ ] Position laptop, lamp, and whiteboard
- [ ] Add personal touches (photos, plant, lights)
- [ ] Introduce yourself to roommate
- [ ] Save warden's phone number
Key Takeaways
- Don't skip the walkthrough, 15 minutes of inspection saves weeks of complaints
- Clean before you unpack, the room was someone else's space until today
- Set up your bed, cupboard, and desk in that order, sleep zone first, study zone last
- Use vertical stacking and shelf dividers in the cupboard to avoid the "pile of chaos" problem
- Your desk setup on day one decides your productivity for the semester
- Introduce yourself to your roommate and agree on basic ground rules
- The entire setup takes 4 hours. Do it on day one, and you'll never redo it